Share "How to Install a Pre-hung Exterior Door"
 Installing a new door to the exterior of your home will add safety, security, comfort and lasting curb appeal. It used to be a job that only the most skilled carpenters could tackle successfully. With the advent of pre-hung doors however, this once complex and intricate feat of carpentry can now be done in a short time, and by anyone capable of handling most basic carpentry tasks. It’s one of the few projects that can be completed in a weekend, all the while saving money down the road and enhancing the beauty of your home.
Most of this job can be handled with basic tools. You will most likely only need a hammer, tape measure, level, utility knife, nail-set and saw. A pry bar will come in handy for removing the old door, and a miter saw will be needed if you plan on replacing the interior trim.
Below, we’ll discuss the steps needed to install a pre-hung exterior door:
- First, obviously, you will want to have your new door available.
- Next, you’ll need to remove your old door. Whether or not this too was a prehung door, you still need to remove the molding and frame as well. The first step is to remove the hinge pins with a flat screwdriver or putty knife and a hammer. Lift the door out from the frame and unscrew the hinges from the door jam and the door.
- Using a pry bar, carefully pry away the molding, doorjamb and framing. Be careful not to damage the rest of the opening. Scrape away any existing caulk to clean the opening as best you can.
- Next, you’ll want to test-fit your new door into the opening. Carefully set it into place, keeping the shipping brackets attached. Center it into the door opening. Utilize shims until the entire thing is both plumb and level. Once this has been achieved, mark a line across the top of the door opening. Once that is done you can remove the door.
- Use a level and draw plumb lines down both sides of your door opening.
- If necessary, install any additional framing. Otherwise, you are now able to hang your new door. First, place a thick bead of latex caulk along the bottom of the door opening. Then set the pre-hung door into the center of the rough opening, bottom first. Tilt the door into place. Make sure that the door is plumb and level. Shim as necessary. At each shim location, secure the door with either casing nails (for wood) or cement screws (for brick/cement). Once the door frame is firmly in place, trim off excess shims so that it will not interfere with molding and trim. Now it’s safe to remove the shipping brace and test the operation of your door. Lastly, attach the anchor screws through the hinges and into the framing.
- To complete your installation, you will want to seal around the door and add insulation. On the exterior side of the door, run a bead of paintable caulk to seal the gap. On the inside, pack insulation into the gaps between the door and the framing.
- Install finish molding around the doorway and paint once all of the caulk and/or wood filler have dried properly.
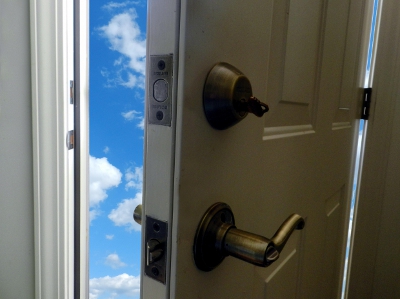
- Install any additional hardware such as locksets, knobs, etc.
If you are ready to tackle this project, stop on in and we’ll be happy to help you with any questions you have. We will let you know how to best measure for the good fit, as well as show you the wide selection of doors in both style and function that we have to offer.