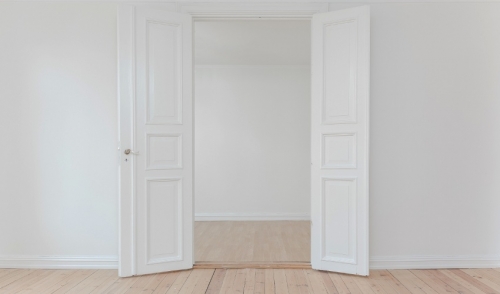
The functional purpose of moldings, such as baseboard, chair rail and door casings is to protect the more delicate wall materials (most commonly plaster and sheetrock) from damage. The problem is, when molding does its job, it begins to look a little shabby.
Maybe the movers got a little sloppy, or perhaps the dog decided that an outer corner of baseboard was a new chew toy. Either way, there’s no reason to live with damaged molding. Repairing it may be easier and less costly than you think.
Before you begin your work, there are a couple things to keep in mind:
How bad is it?
Is enough of the molding damaged to the point that it should be replaced? Sometimes, it’s just easier to remove the damaged section with a chisel or flat-bar to replace it all together.
Is that style still available?
Some moldings are so unique or old, that they can’t be replaced without having custom millwork done. If you own an older home, your molding may be impossible to find in stock at the average retailer. Custom millwork is a viable, but more expensive option. If you don’t think wood putty or epoxy is capable of repairing the damage, you could remove the entire piece and replace it with something similar. The only problem here is that rather than replacing just one side of the door casing, for example, you’ll have to replace the entire span around the door to keep the look even.
Do you have the same paint still on hand?
If you don’t have the same paint around anymore that was used on the molding, or if it is no longer usable, you’ll need to remove a chip from the damaged molding and bring it to the store for a paint match.
Repair
For small dings, cracks and scratches, wood putty is best. If there are deep gouges, broken corners, or areas that need to be “rebuilt”, epoxy filler is best. First, begin by sanding off any raised edges and splinters with a piece of sand paper. This will make it so the application of filler goes on smoothly.
Next, using a putty knife, apply the wood filler over the damaged area. Don’t worry about using too much. Wood filler will shrink as it dries. You will be able to sand it even with the rest of the molding once it is dry. Epoxy won’t shrink, and is harder to sand than wood filler, so try not to use an excess. Once the area is completely dry, sand it smooth, finishing off with fine grit sandpaper. Once you are satisfied, dust off the area and paint. It is a good idea to paint the entire length of the molding, to ensure an even, unbroken finish. You don’t want to draw attention to the repaired area with a shiny patch of paint.